Workflows Edit
Editing a Workflow
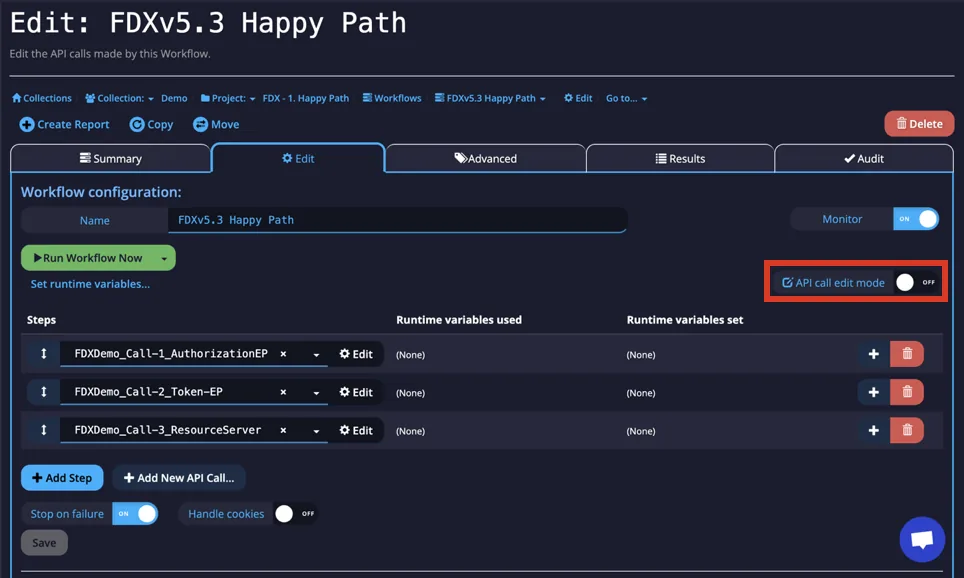
You can edit a workflow by selecting the row you want from the list of Workflows. From here, you can change the name of the Workflow or Run Workflow Now. This shows monitors that make up the workflow and the variables, if any, that are set at each stage of the workflow. More monitors can be added by selecting the + button on any of the monitors to add one after that call or the Add Step button as well as the Add New Monitor button. The monitors can also be reordered using the arrows on the left of the row and deleted using the bin icon on the right of the row.
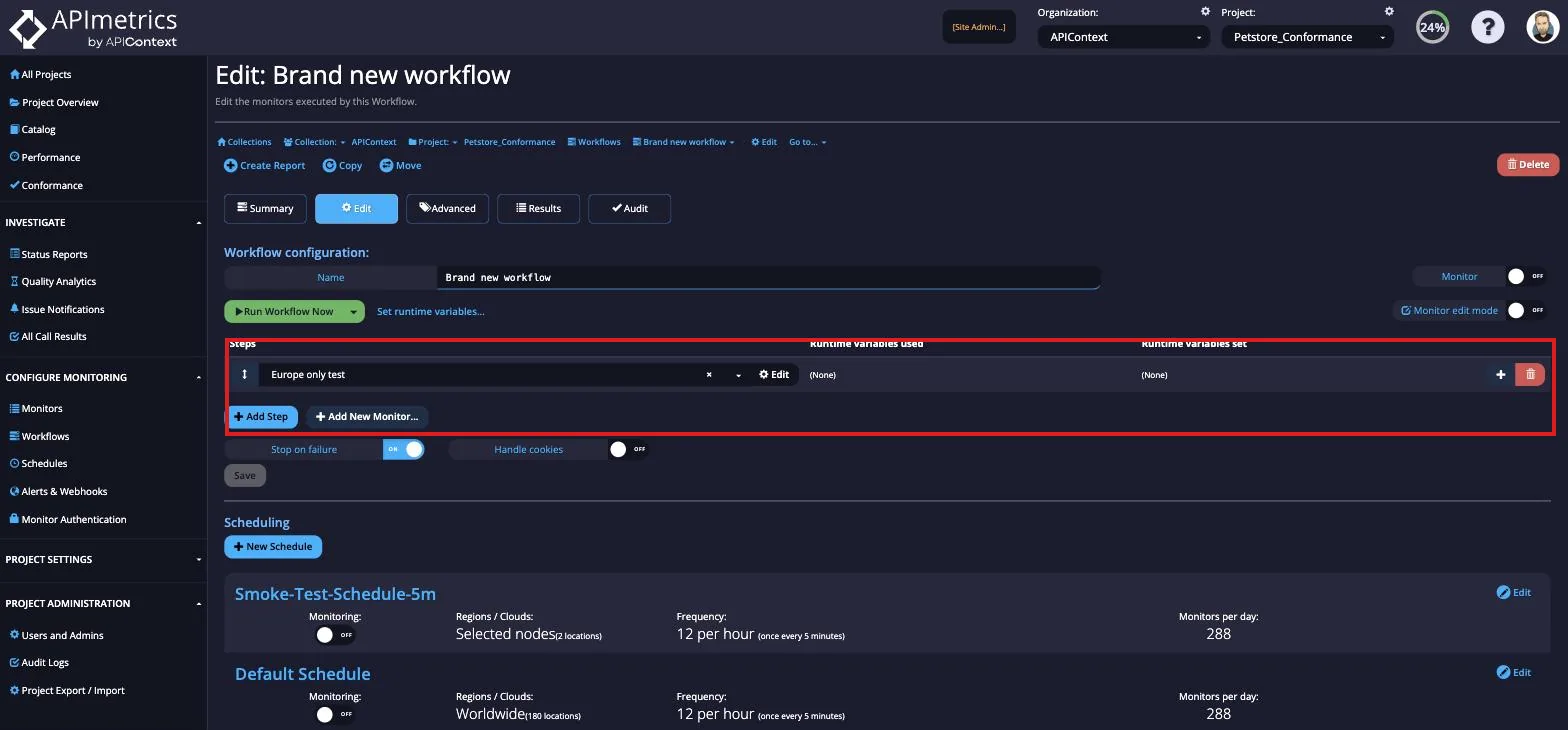
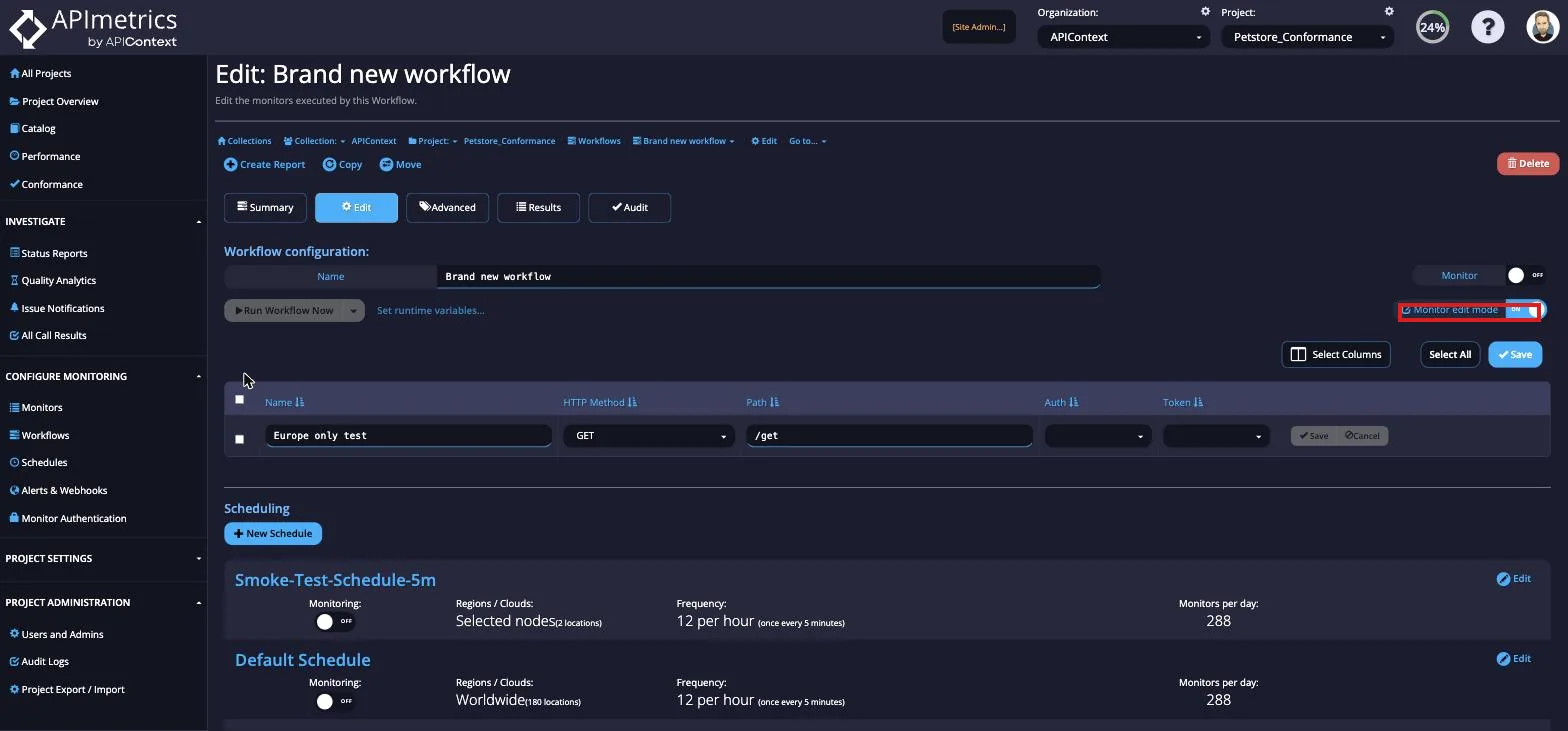
To edit the monitors, select the Edit button to open the individual monitor or toggle the monitor edit mode for a quick edit mode.
Running a Manual Workflow
If you select the dropdown on the Run Workflow Now button, you can choose from the different agents we have available or Google US Central 1 if none are chosen.

Setting Runtime Variables
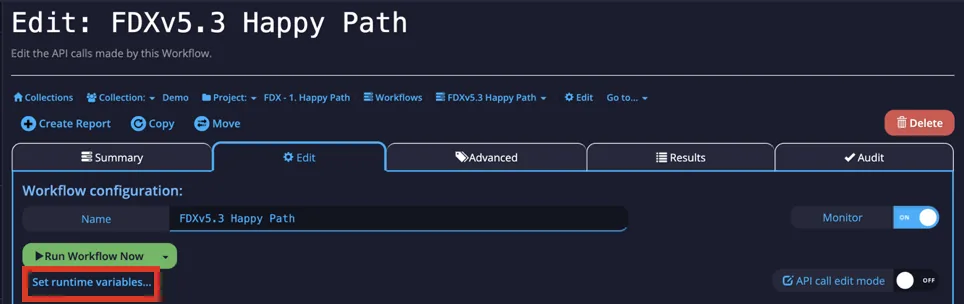
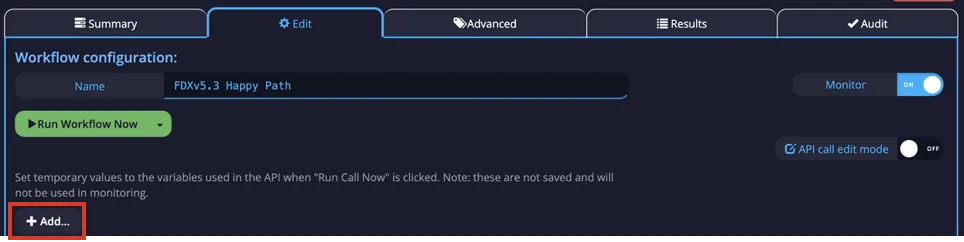
Runtime variables can also be set here however, these are temporary and only used at runtime and not during scheduled monitoring. Select Set runtime variables to start.
Next, select the Add button to create a new variable entry.
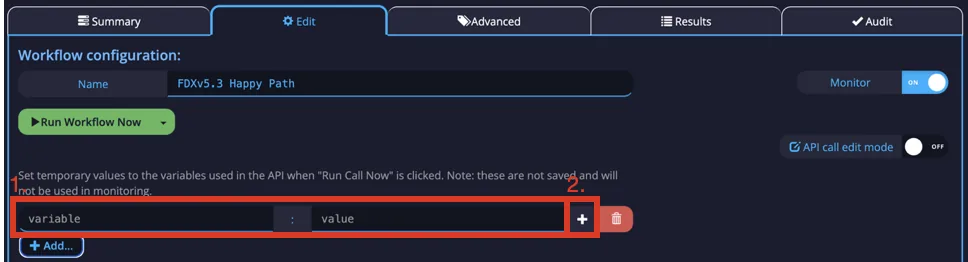
Next, fill in the variable and value fields, and select the + to add the variable to the runtime variables.
Scheduling a Workflow
Scheduling Workflows is the same process as scheduling an individual monitor. At the bottom of the Workflows Edit tab, you can create schedules for your Workflow and turn on and off different schedules you have created.
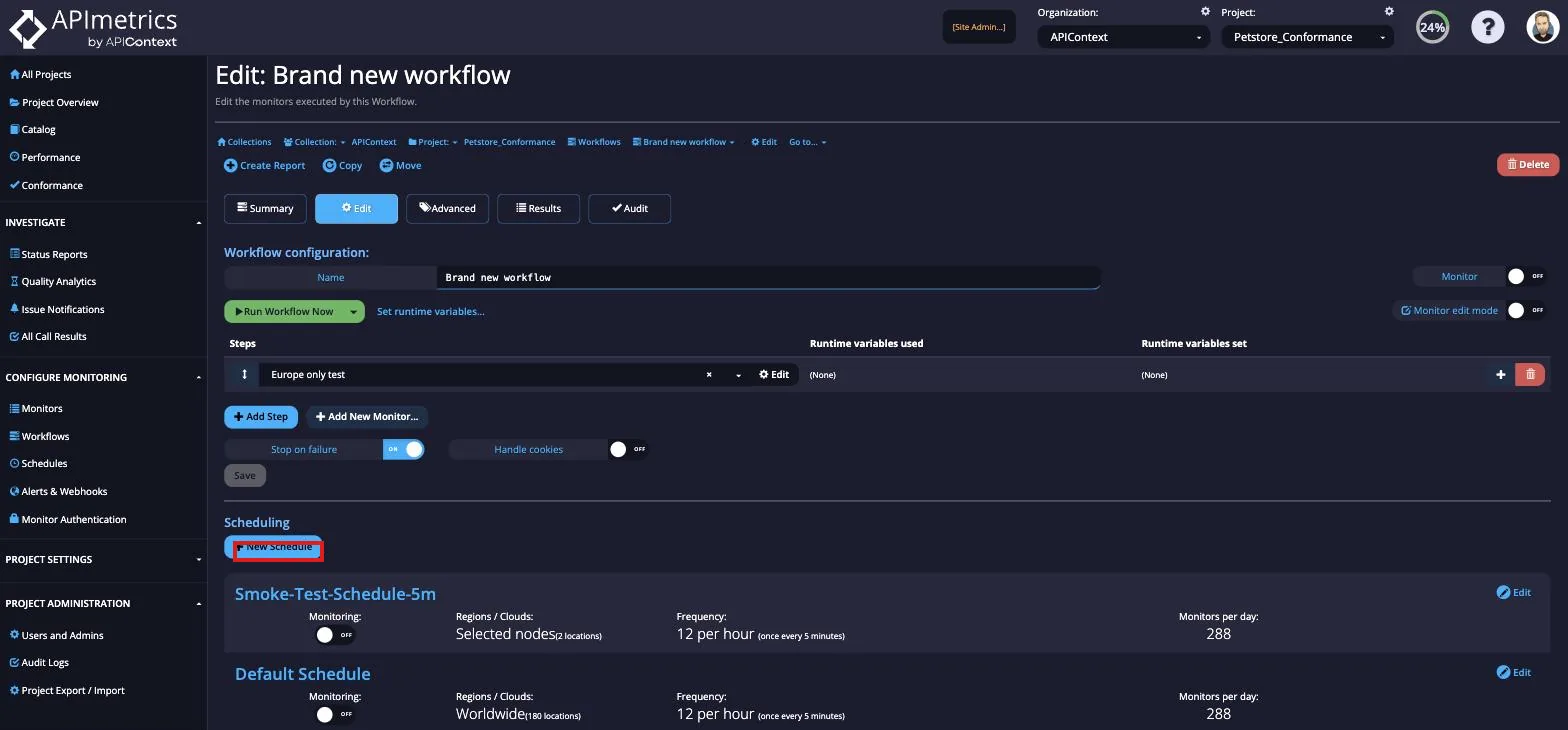
To create a schedule, select the New Schedule button.
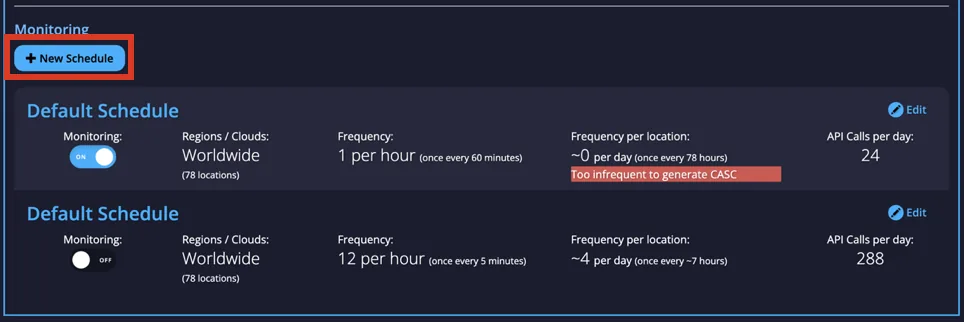
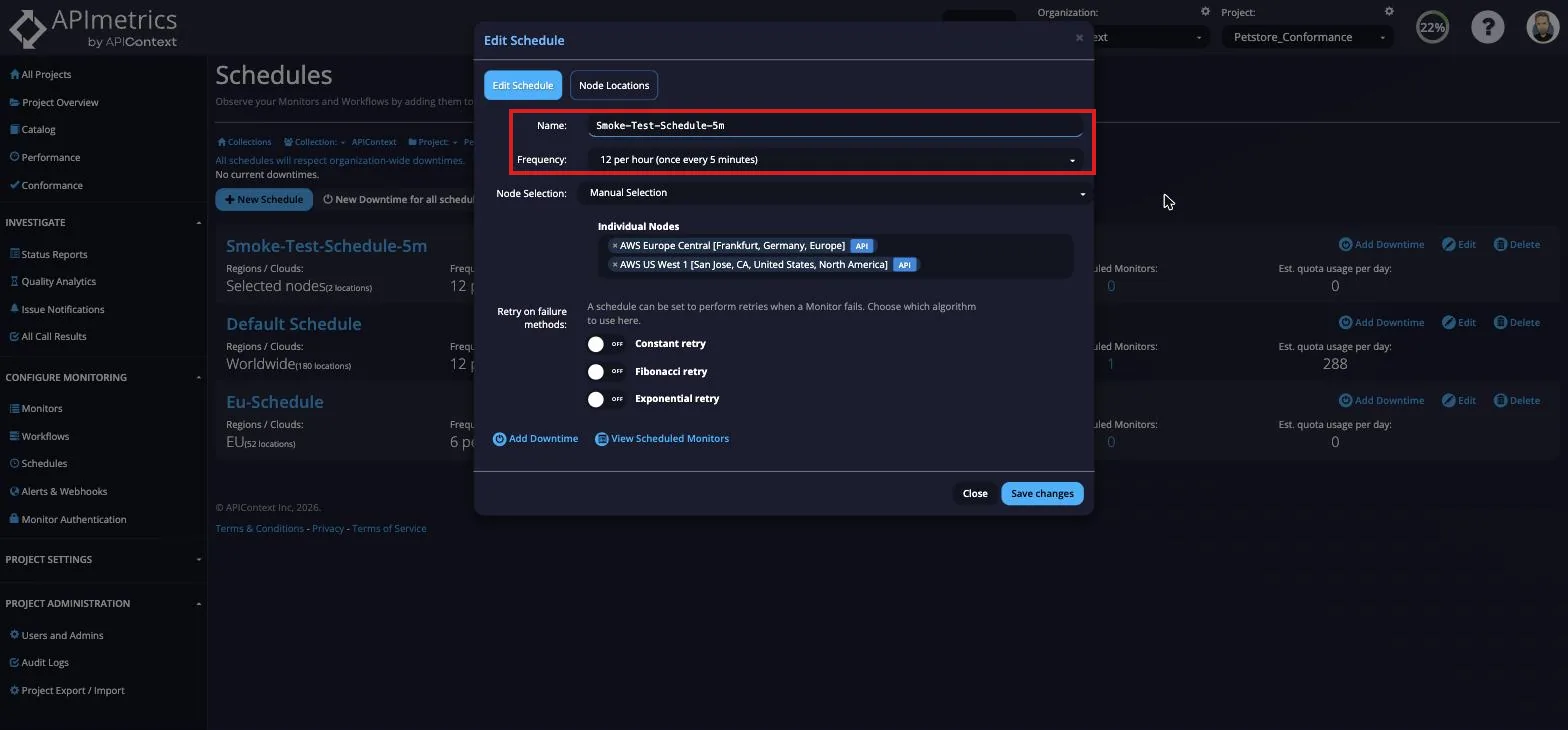
A popup will open where you can name your schedule, choose the frequency it runs.
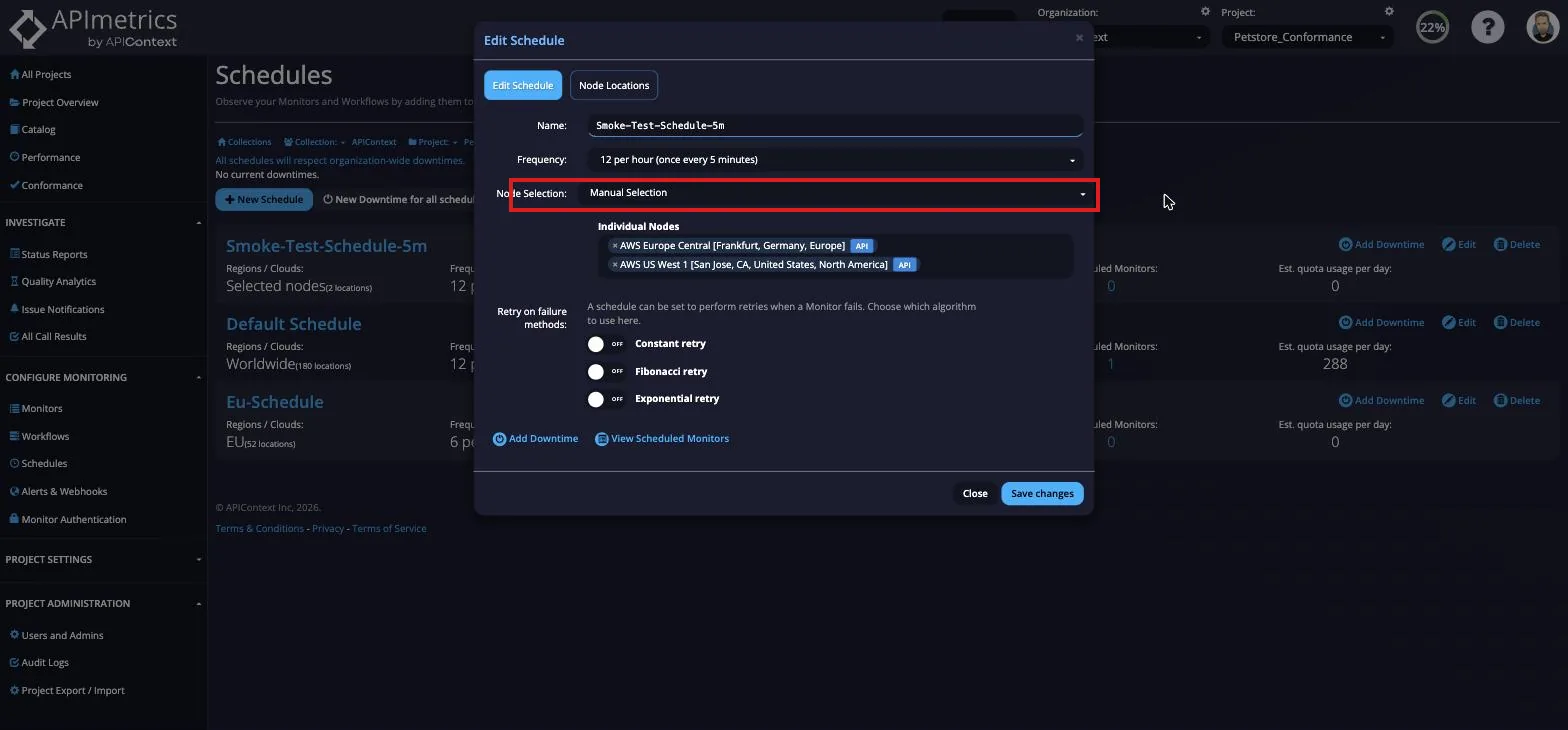
You can also choose whether you want it to run worldwide or choose from different continents or cloud service providers.
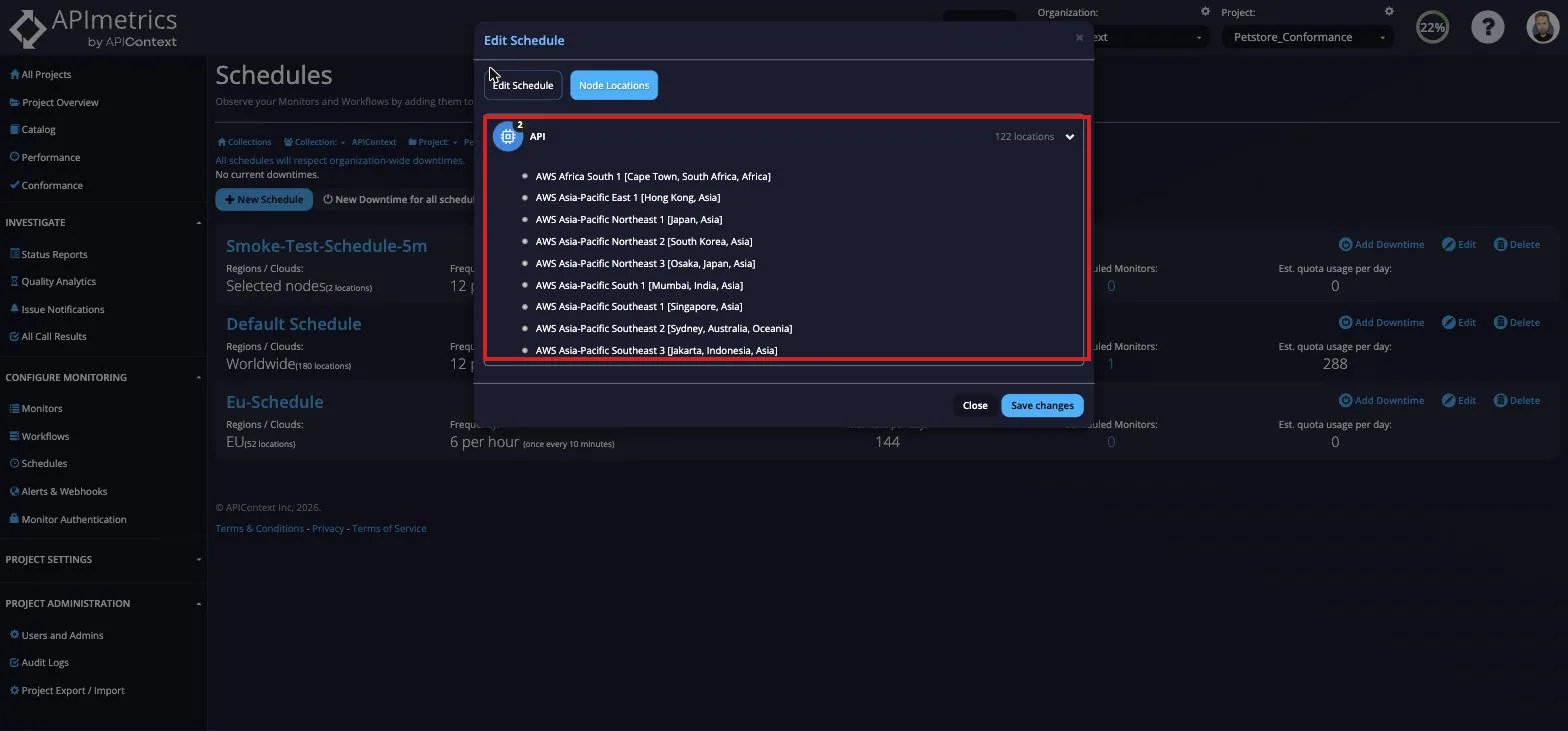
If you select the Advanced option, you can finetune even further by selecting specific locations.
Finally, you can choose what retry on failure method you would like if any and if you are using the Postman Monitoring feature, you can choose this scheduling here. Once you're happy with your schedule, select the Save changes button and your schedule will be created.
