

Workflows
Workflows allow you to create a series of monitors — spanning API, browser, and MCP surfaces — that run in sequence. You can extract variables from the output of earlier calls and use them as input to later ones. This simulates real-world business processes that involve multiple linked monitors, giving more realistic monitoring with full step-level trace detail. The monitors can also be completely independent of each other.
Just like a normal monitor in APImetrics, Workflows are deployed to be run periodically from agents in the same way.
Example Workflow
Below is an example of a Workflow to give a clearer idea of the possibilities of a Workflow.
- monitor that creates a user in a particular system. Extract the user ID from the returned payload.
- monitor that creates a record associated with the user account for the user ID. Extract the record ID from the returned payload.
- monitor that obtains the record associated with the user account for the user ID and the record ID. Validate the returned payload using API Conditions to demonstrate that the record was created successfully.
- monitor that deletes the record associated with the user account for the user ID and the record ID.
- monitor that obtains the record associated with the user account for the user ID and the record ID. Validate the returned payload using API Conditions to demonstrate that the record was deleted successfully (trying to obtain a deleted record should lead to the returned payload containing an error message).
- monitor that deletes the user account associated with the user ID.
A variable used in a Workflow only persists for use in that Workflow. We provide pre-set variables for services like DATE and TIME, and global variables that can be used to handle externally generated tokens and IDs. To learn more about these, see APImetrics-defined variables.
Creating a Workflow
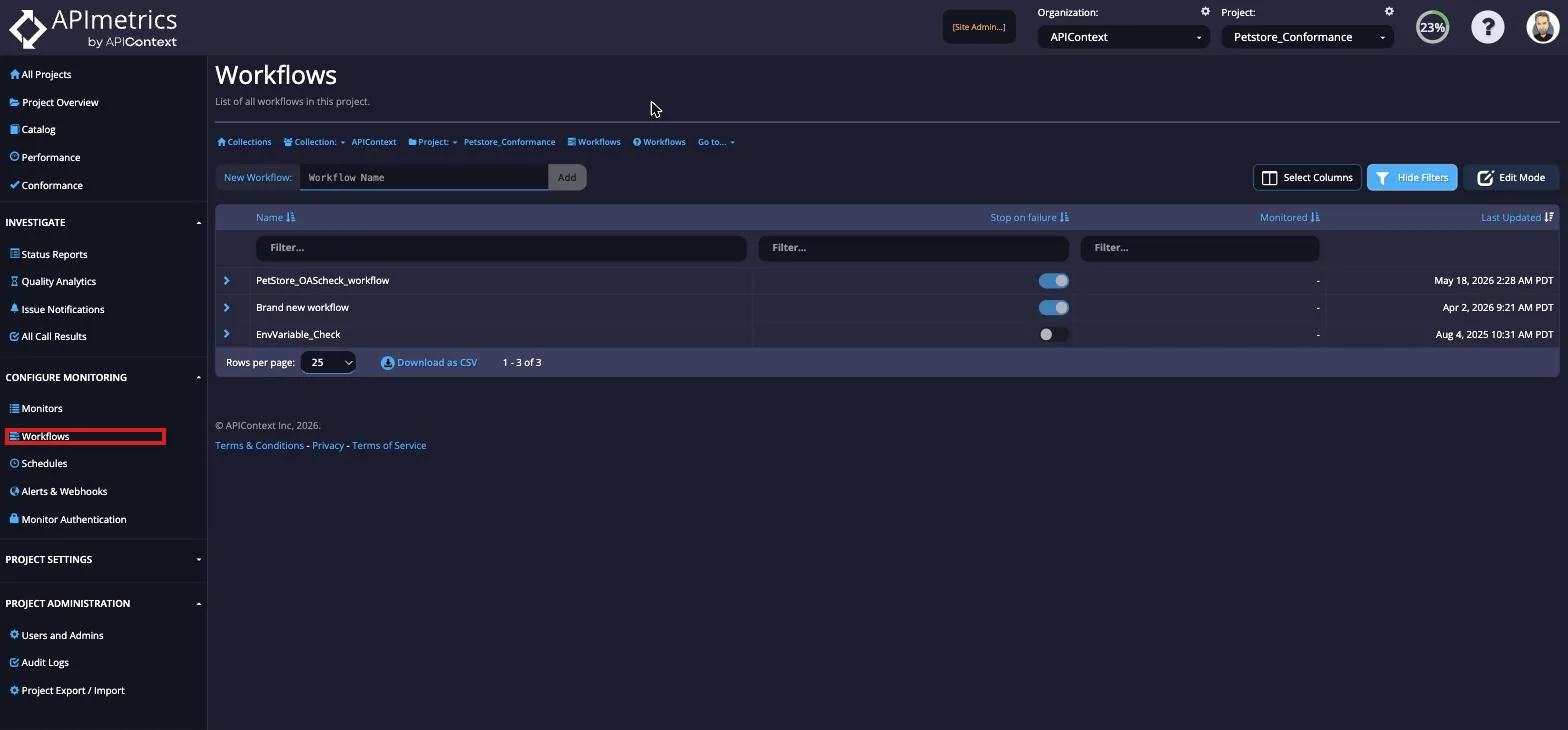
Workflows can be found under Configuration in the sidebar.
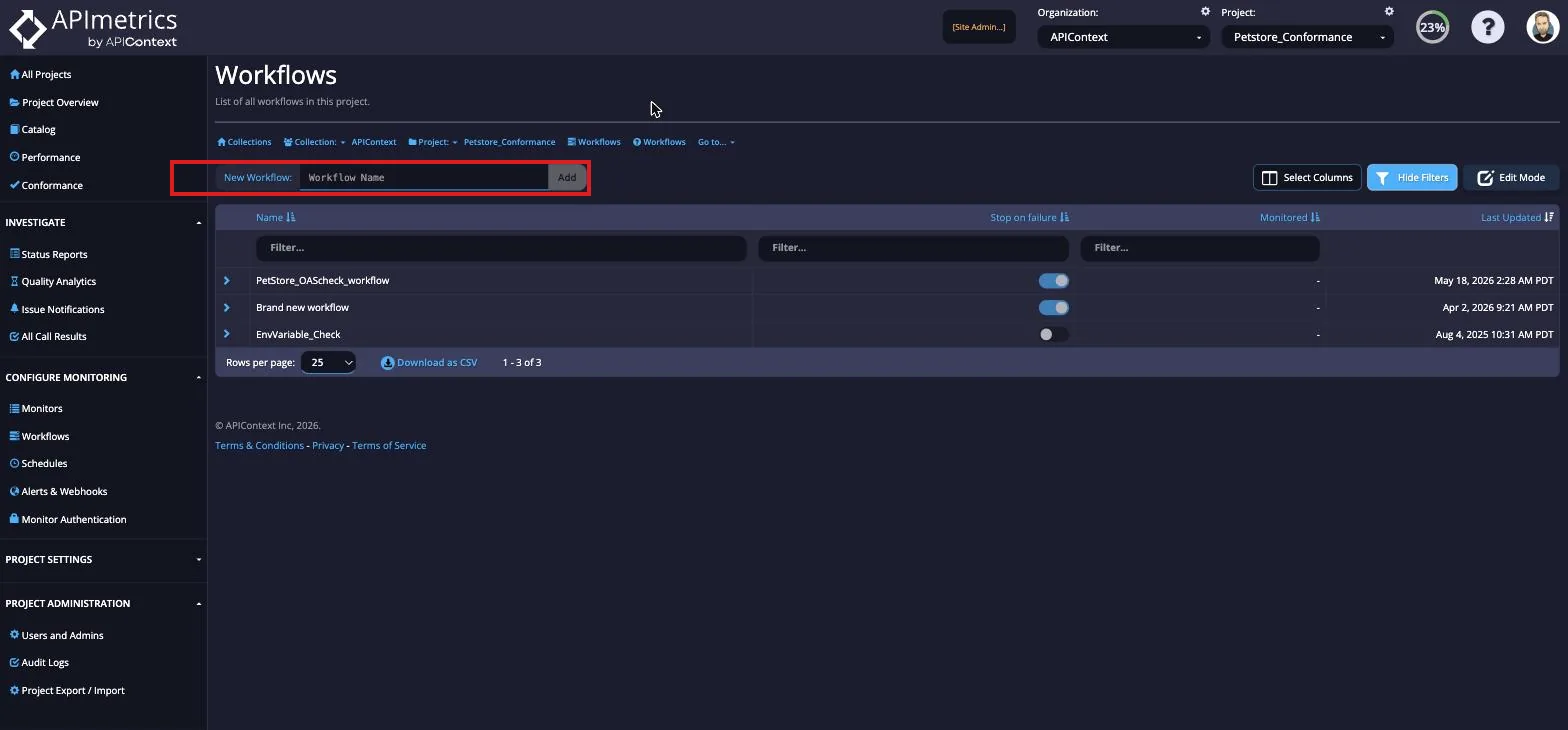
To create a new Workflow, enter a name in the text field and then select the Add button.
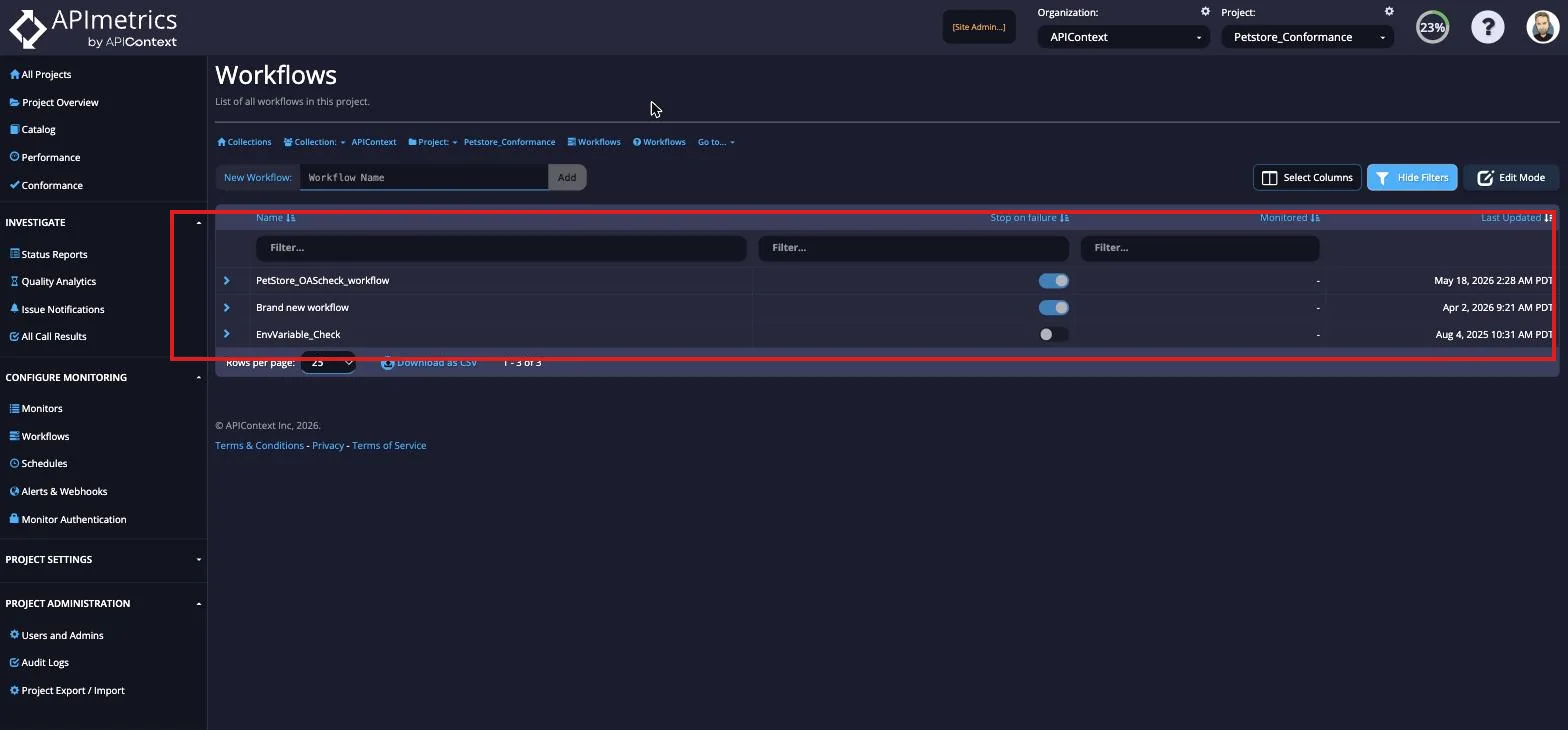
If you already have created some Workflows, they will be listed on the page.
To Edit a Workflow, select the row containing the Workflow and it will direct you to the Edit page.
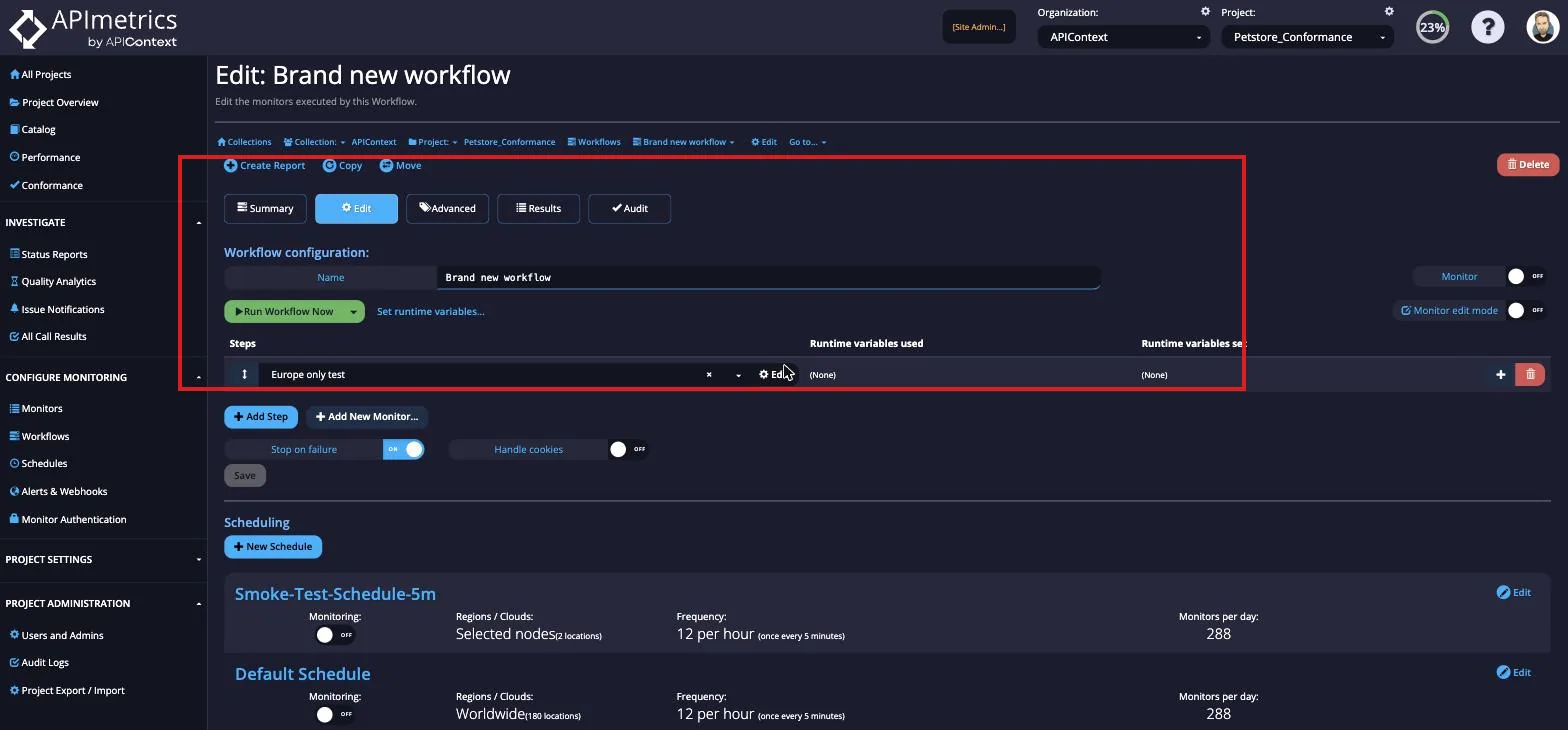
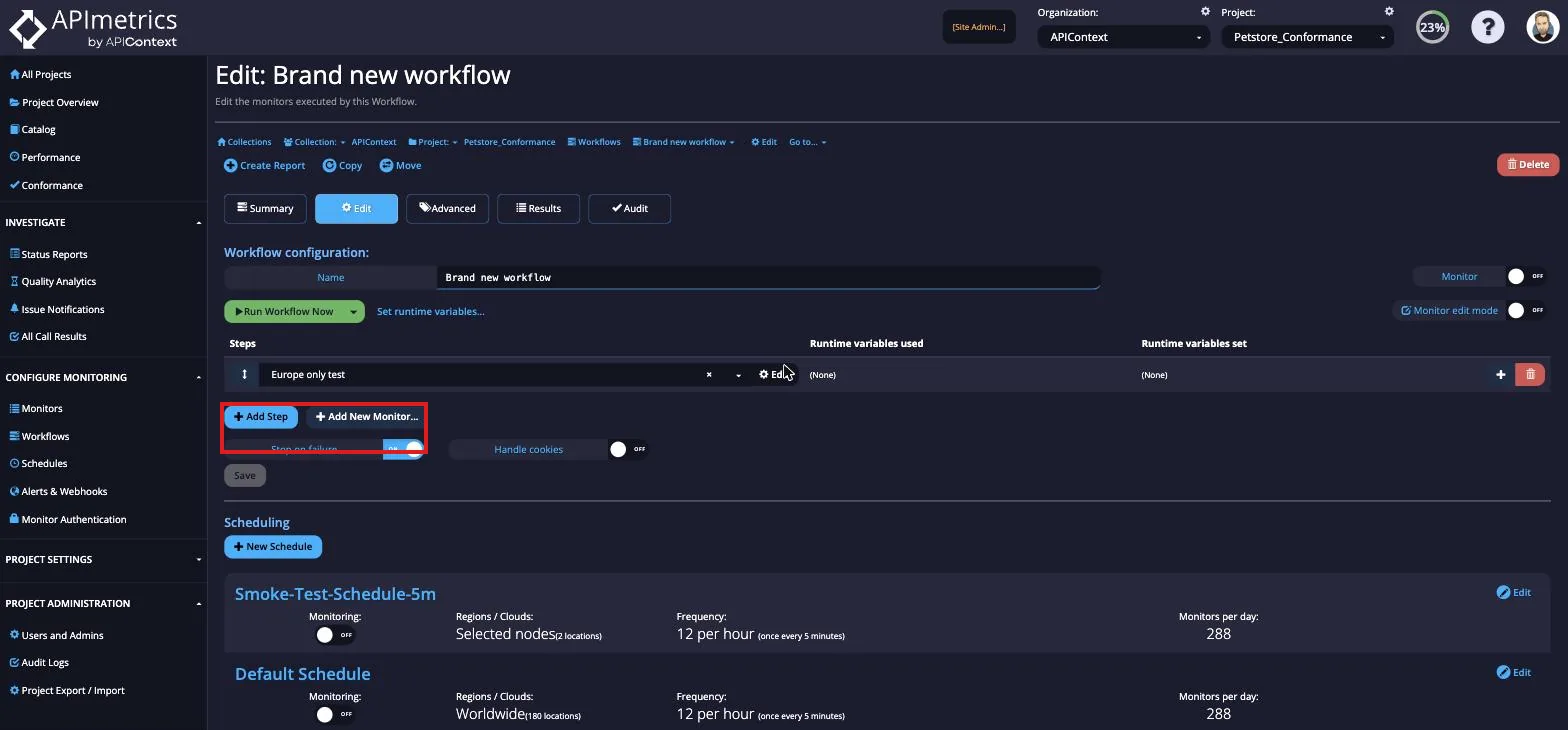
To add an existing monitor to your Workflow, select the Add Step button below the Steps table.
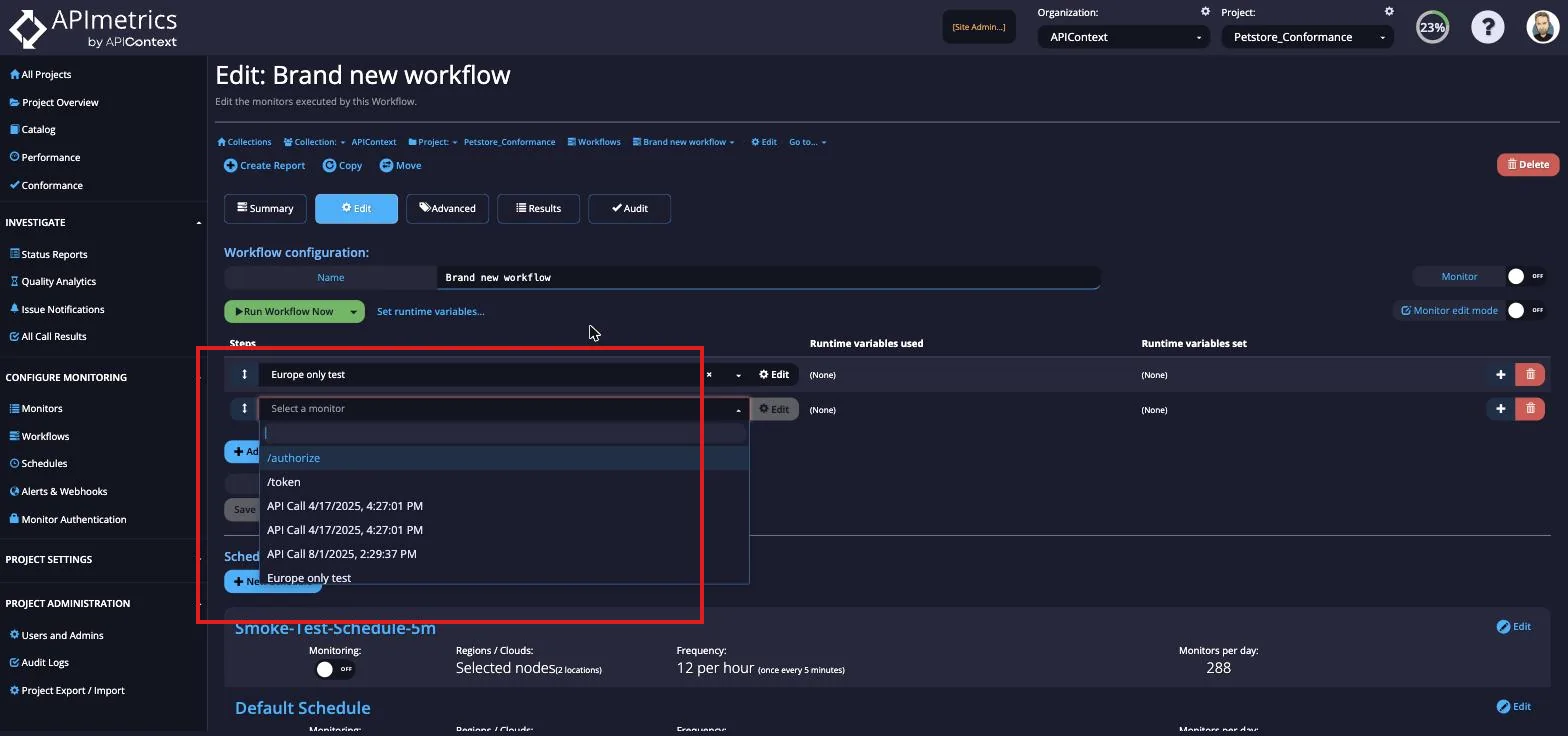
After this, you can select from an existing monitor from the dropdown.
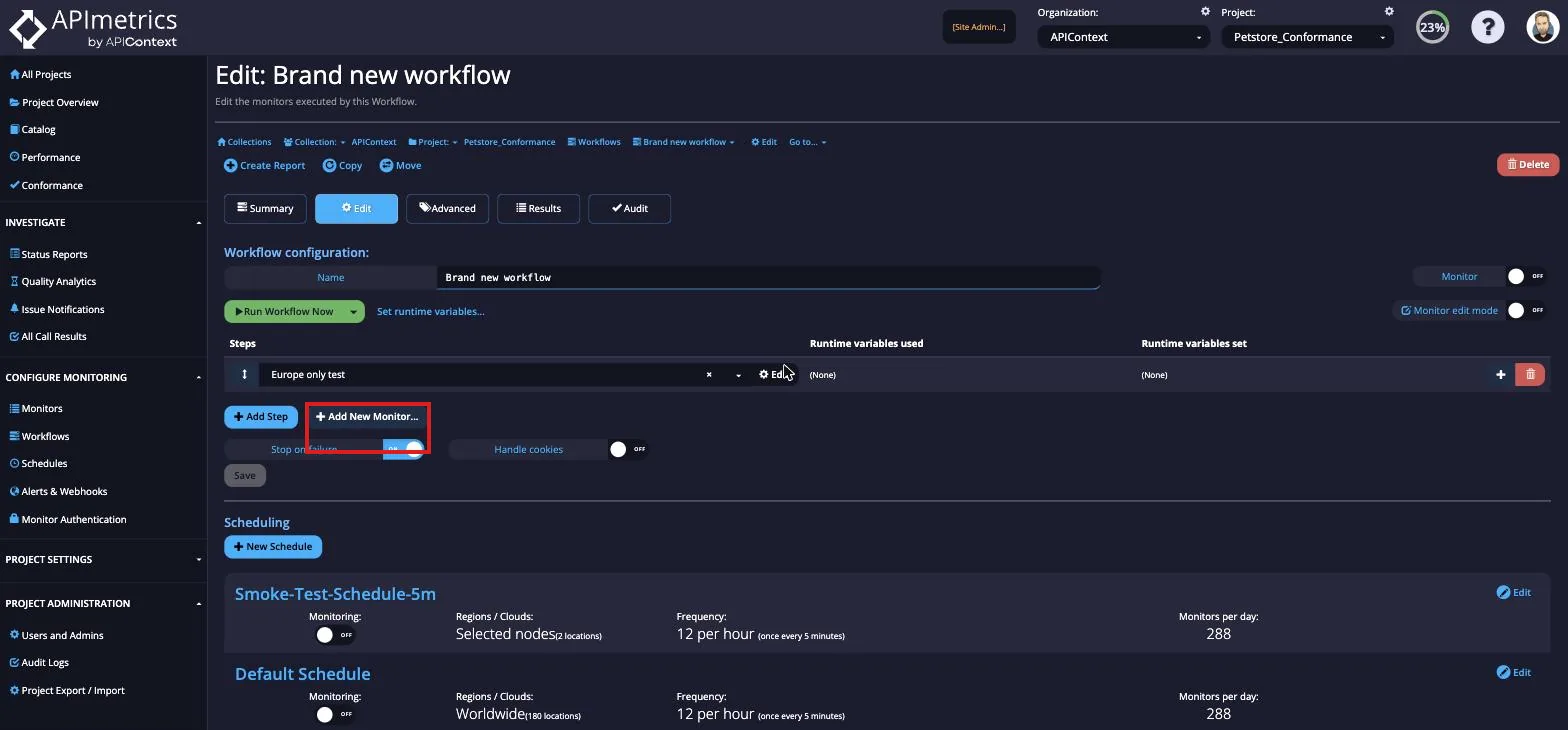
You can also create a new monitor within the Edit Workflow page by selecting the Add New Monitor button.
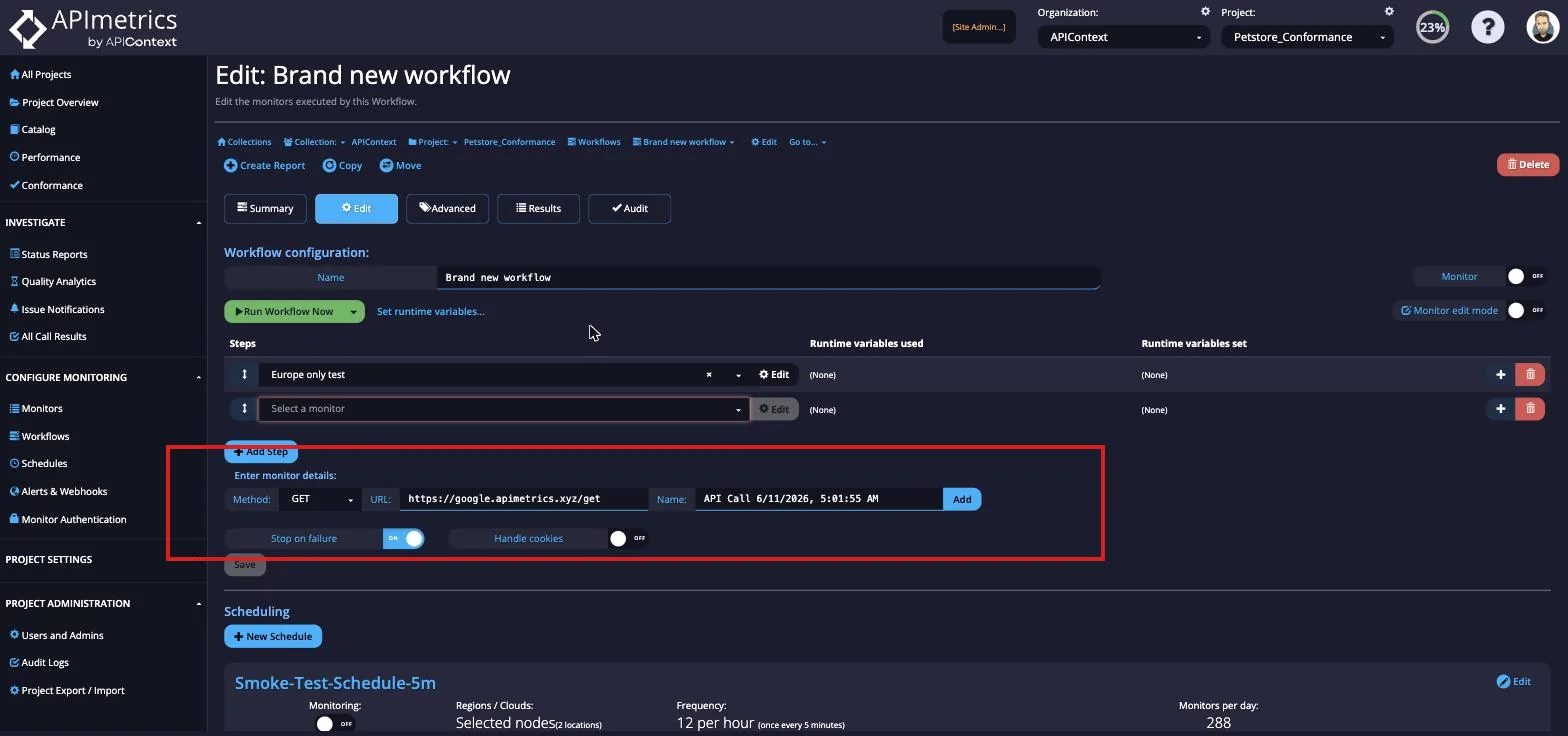
Enter the details in the prompt, choosing the Method, URL, and Name before selecting the Add button to complete the new monitor.
Variables and Conditions
Passing variables between Workflows is a key part of simulating a real business interaction. We have tutorials on parsing content in JSON and XML. There is also a set of pre-set variables that we provide, see our pre-set variables.
In case of a failure, there are Conditions, which allow you to stop Workflows. See the section on Assertions and conditions for more details on handling these situations.