Organizations
For Enterprise customers, projects and users are grouped into an organization for billing and other administrative purposes. Users with the appropriate permissions can use various functionality to manage the organization and its associated projects and users.
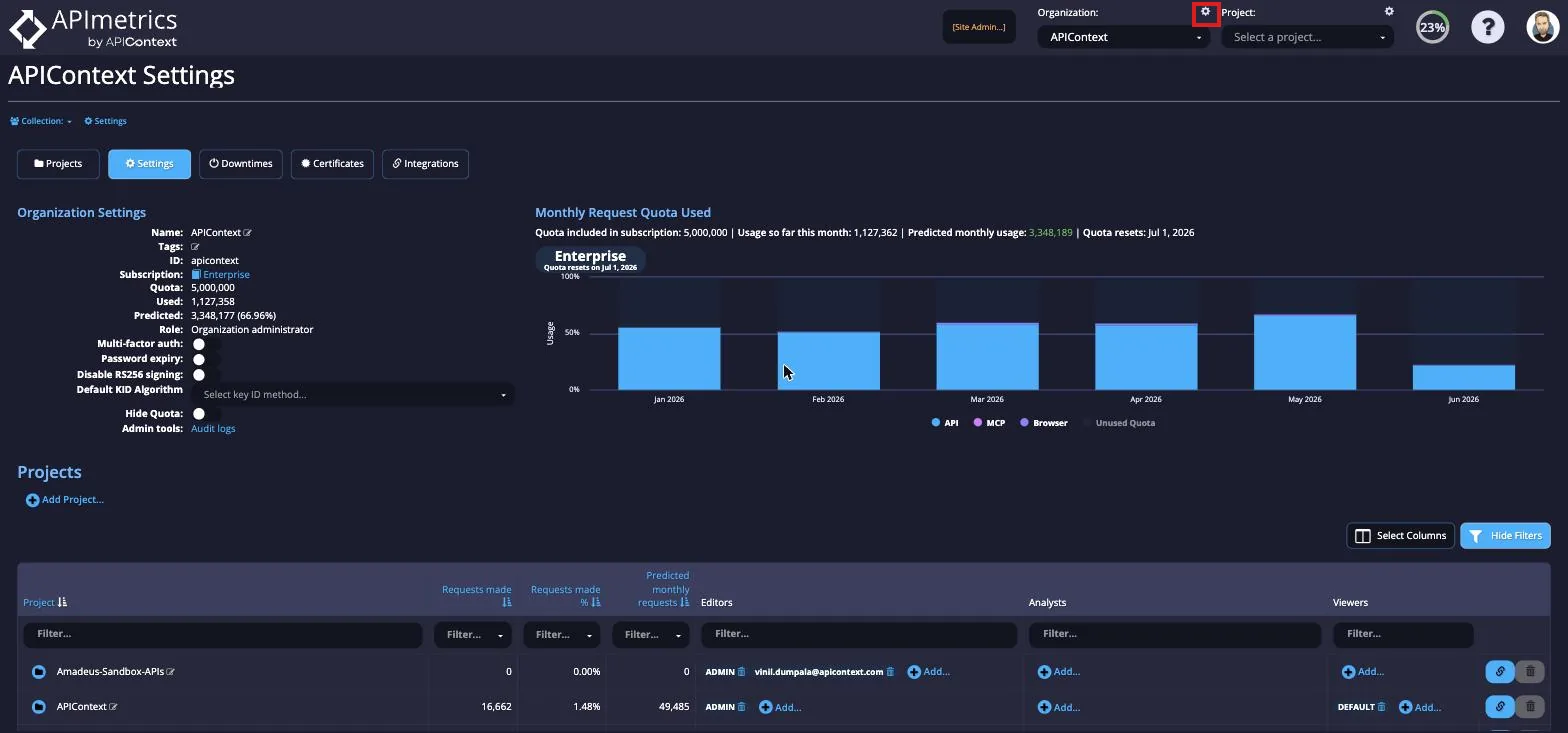
Click on the Settings button next to the Organization box in the sidebar or select the Organization Settings item from the dropdown under the organization name in the top bar to access the Organization Settings.
Organization Settings
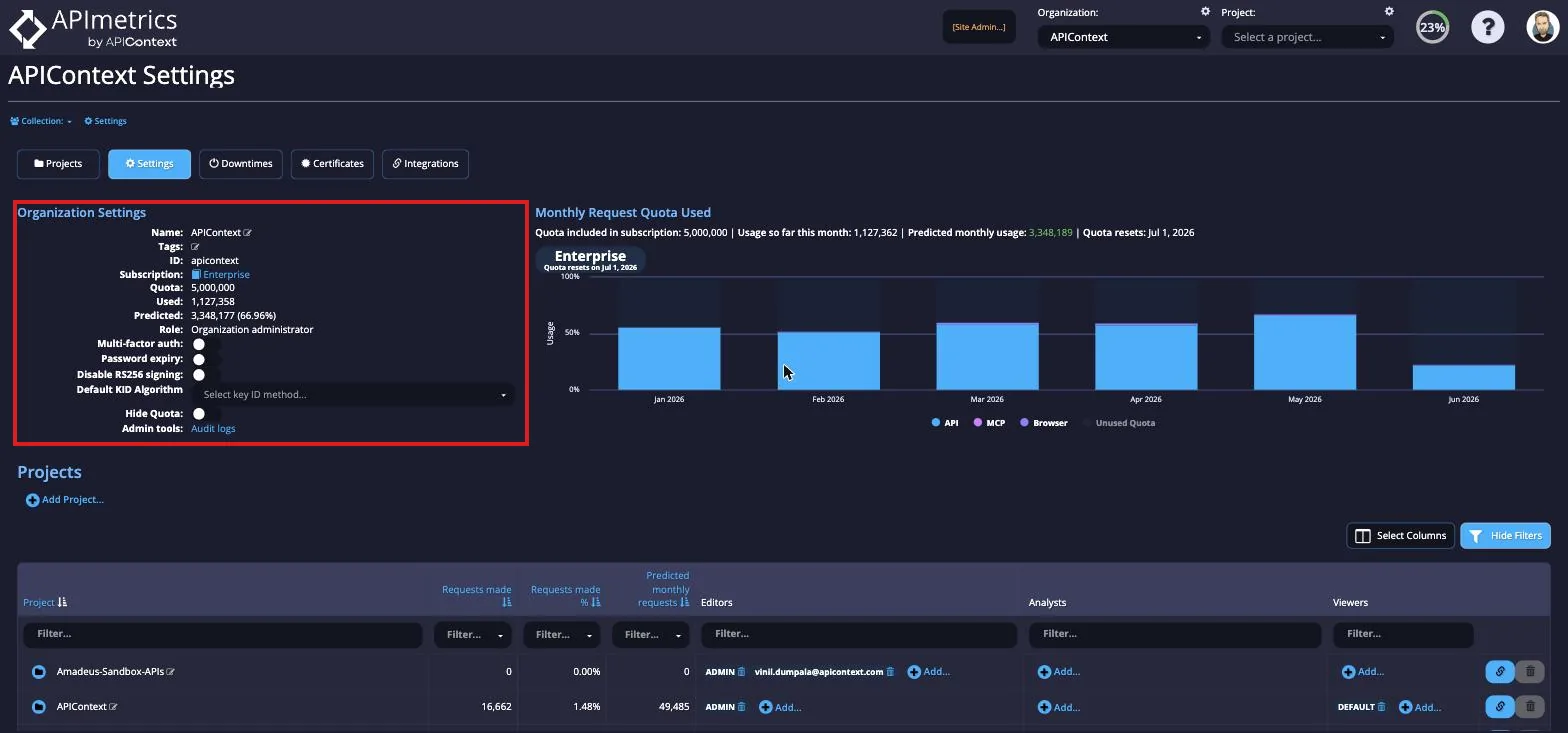
The first section is Organization Settings and contains information about the organization, such as the name, tags, ID, current subscription tier, request quota, amount of requests used, predicted quota usage, and your current role in the organization. From here you can also edit the name and tags for your organization. Below this information, you can toggle on and off multi-factor authentication or allow for password expiry after 90 days. Finally, you can open the Organization Audit Logs view.
Audit Logs
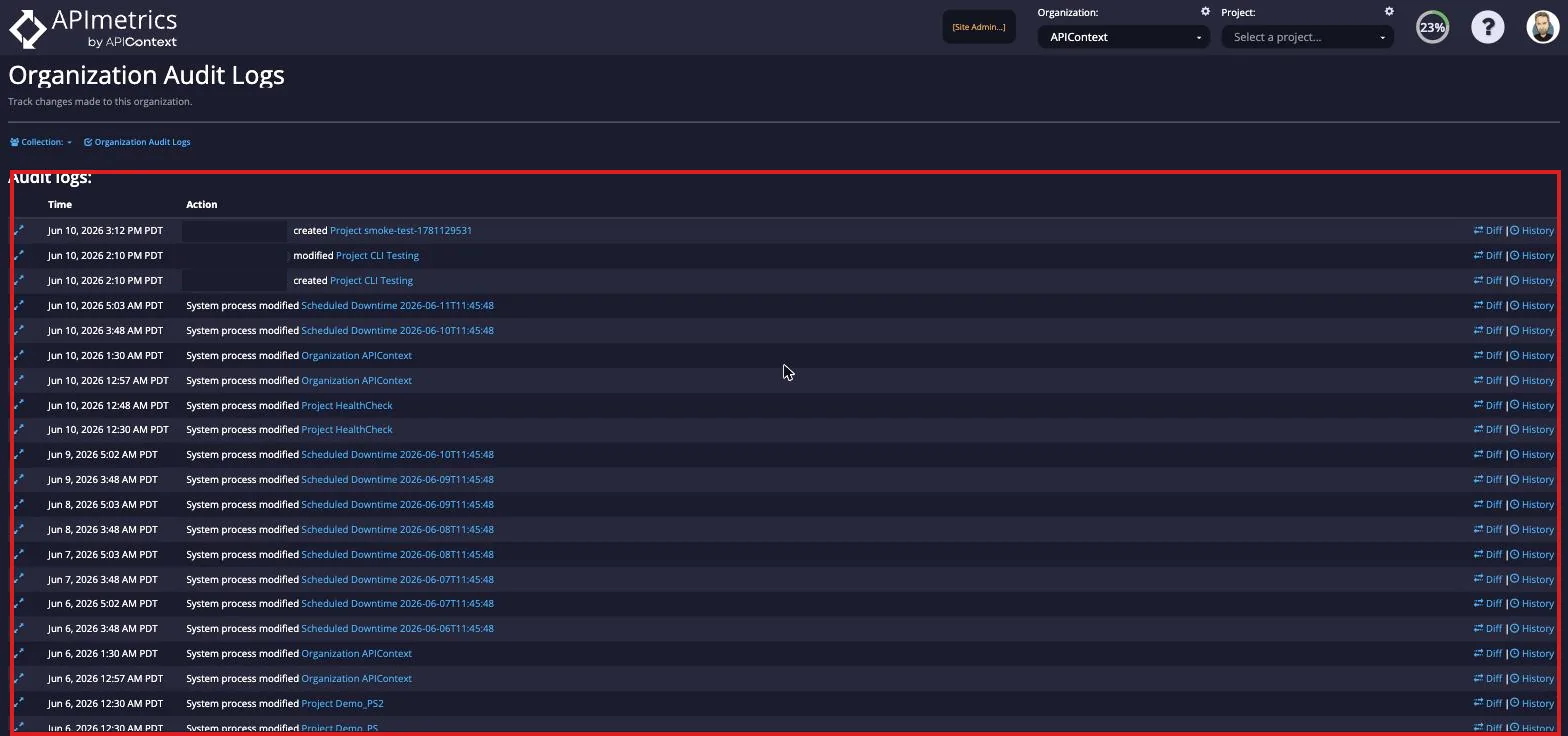
From here, you will be able to see who created, modified, or deleted anything related to the Organization. This can include modifications to Projects or created invitations to the Organization. These logs are organised by the newest first. If you want any additional information about the log, you can click on the Diff option at the side to see what changes were specifically made and the History option to see what other changes have been made to the logged Resource.
Projects
The Projects section lists all the projects in the organization, who has access to them and at what level. There is also additional information that can be hidden or added to this view to personalize the view to what you most need, including viewing the owners of the Projects or the percentage of the total Organization quota this project is set to use for the month.
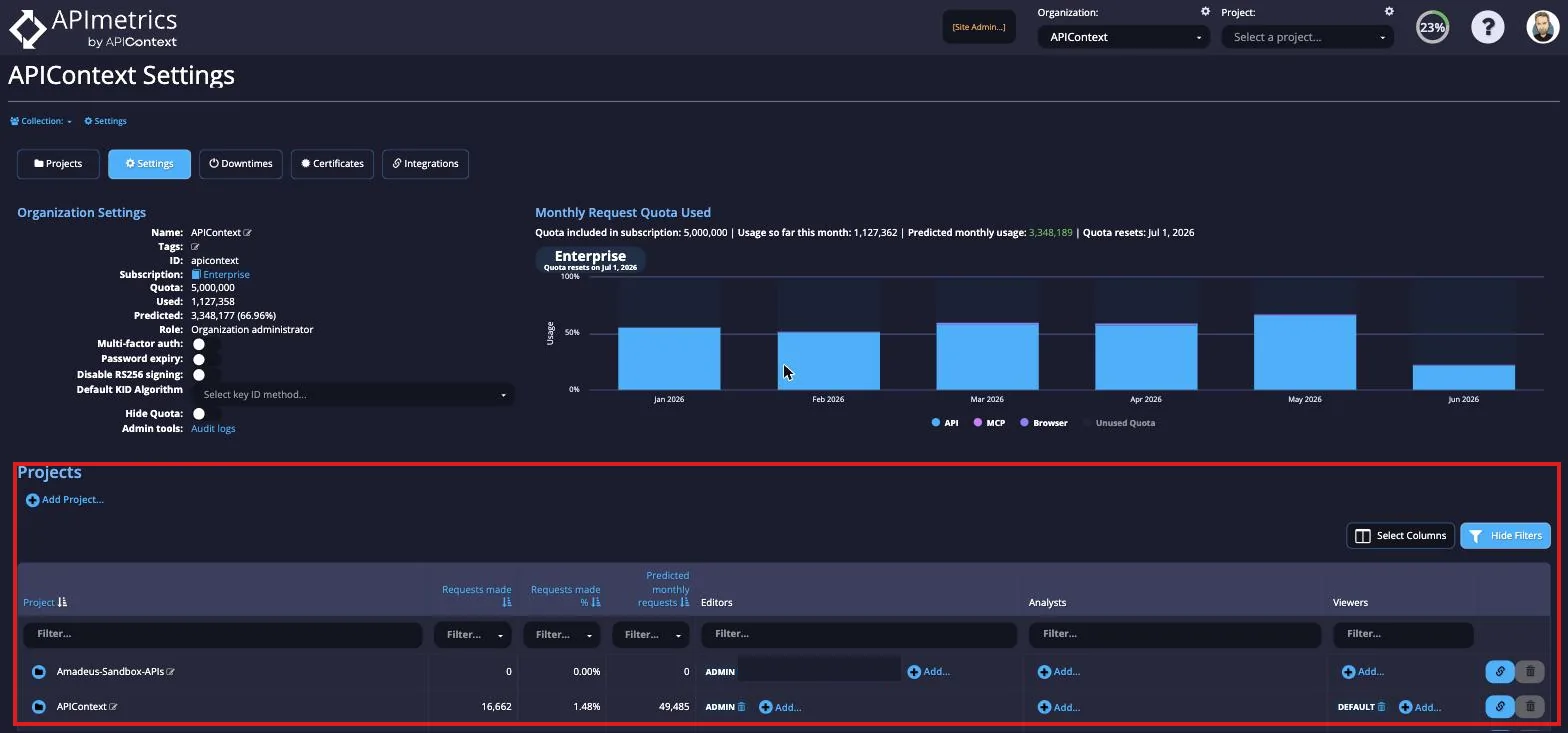
Projects created by organization members — whether from the web UI or the CLI — are automatically added to the organization. See Create a new project for details.
From here, you can also add Editors or Analysts to different projects by selecting the Add button and choosing a role or user from the dropdown.
Access to projects can also be managed by project owners from the Project Administration.
Roles
The Roles section allows you to create roles and view the roles that already exist within the Organization.
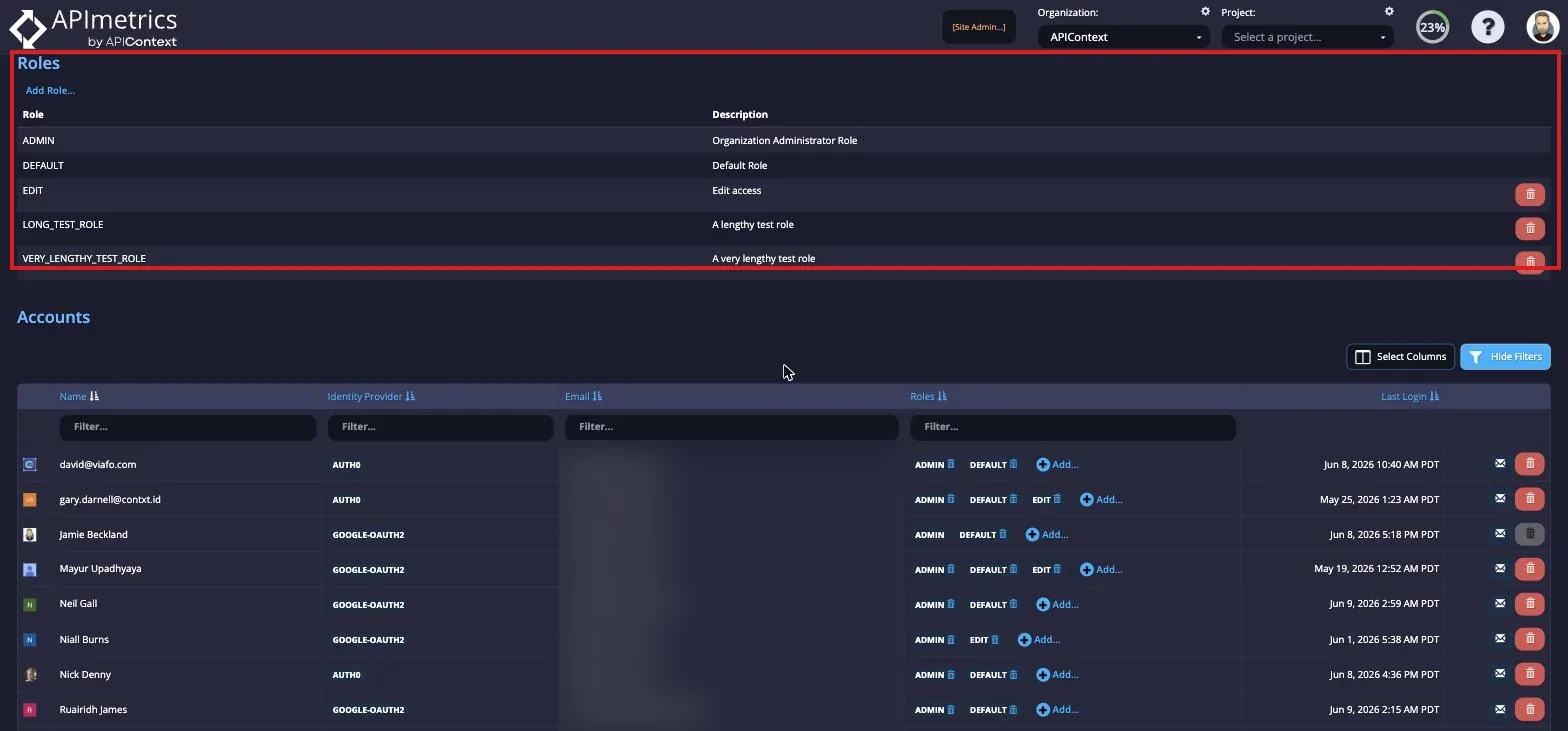
Organizations have two default roles: DEFAULT and ADMIN. The only difference is accounts with the ADMIN role can access the Organization page. Roles can be useful as instead of giving access to a project account by account, you can provide access to a role and all accounts with that role will have access to that project.
Add Role
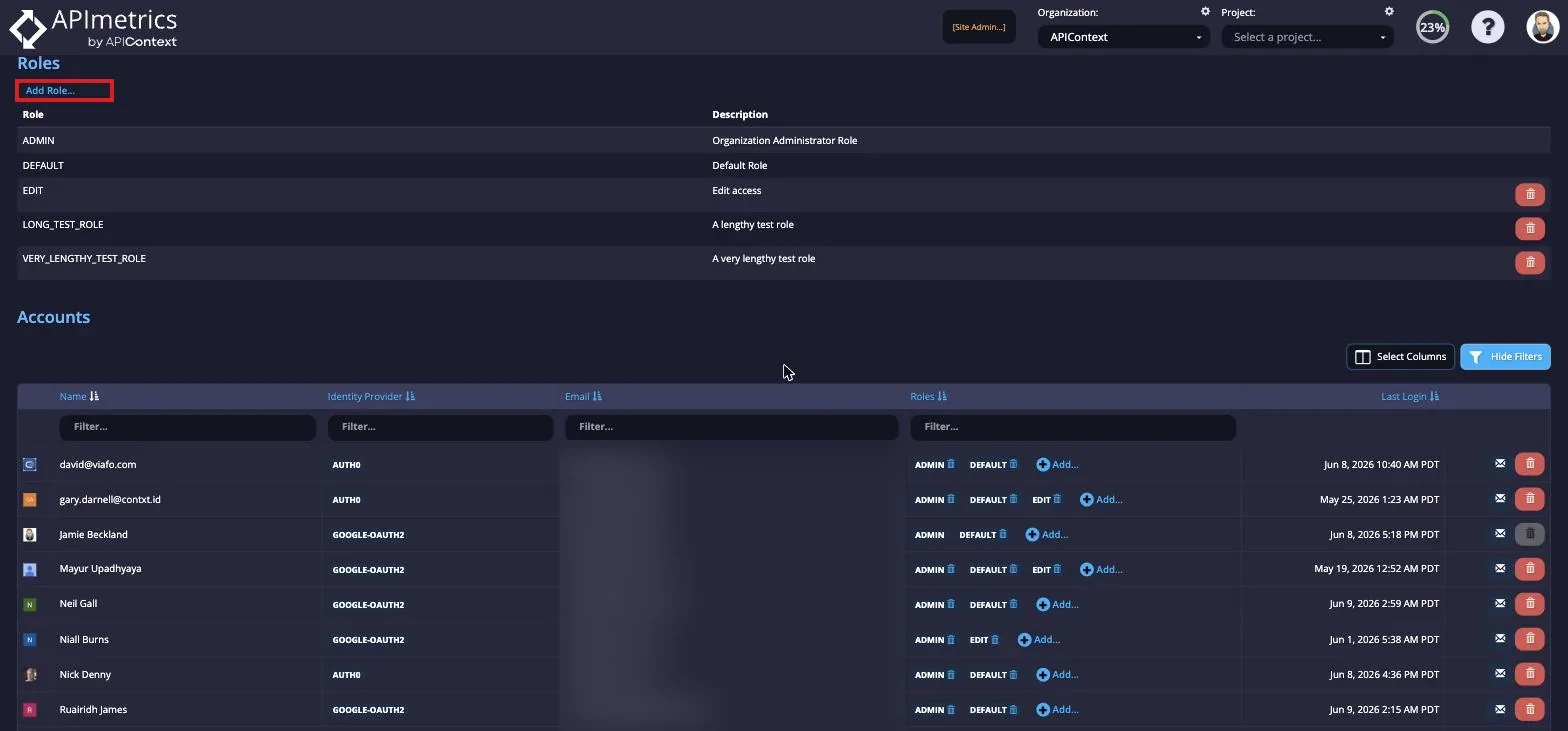
You can create other roles using the Add Role link.
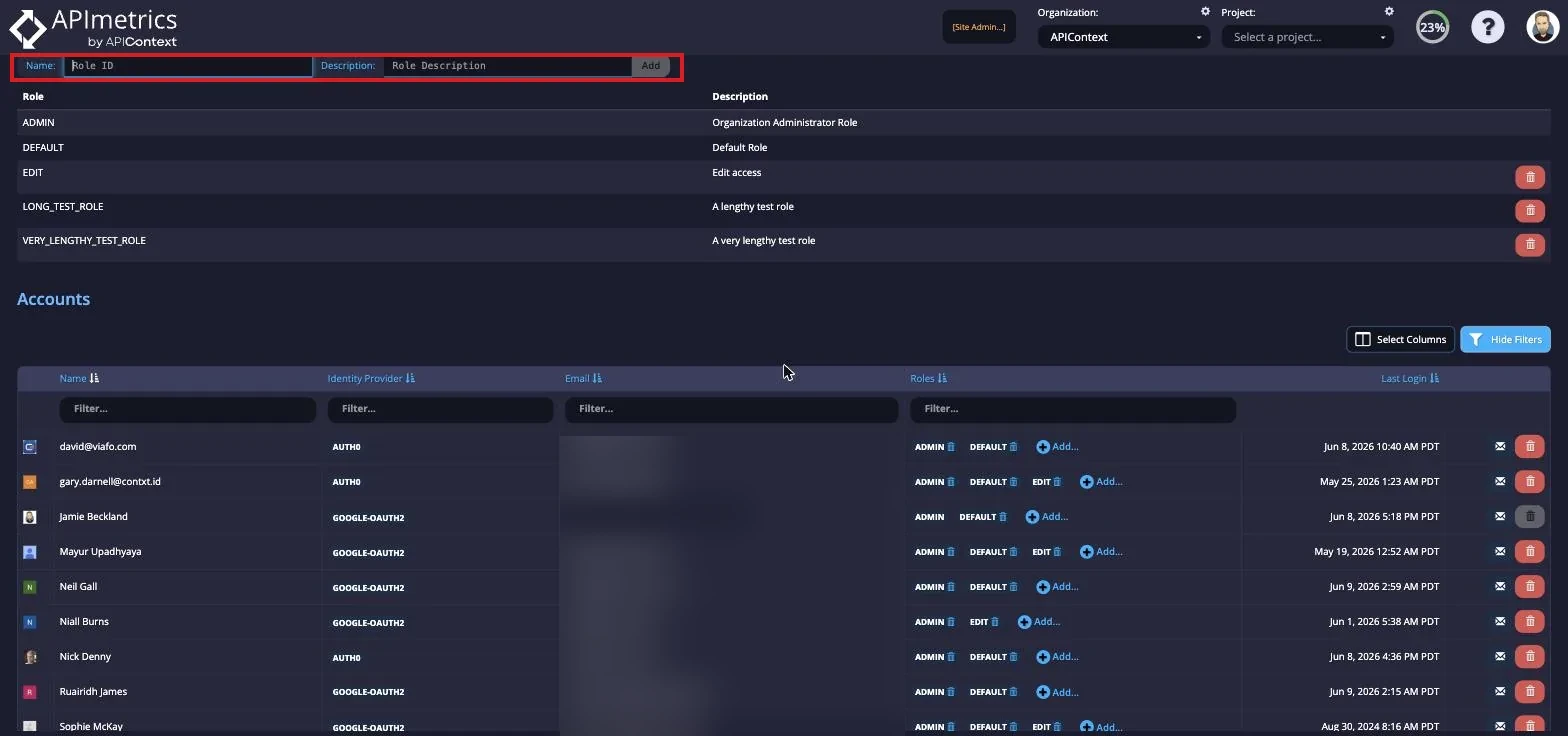
A Name and Description field will appear, fill in these fields and select the Add button at the end and there will be a new role within the Organization.
Accounts
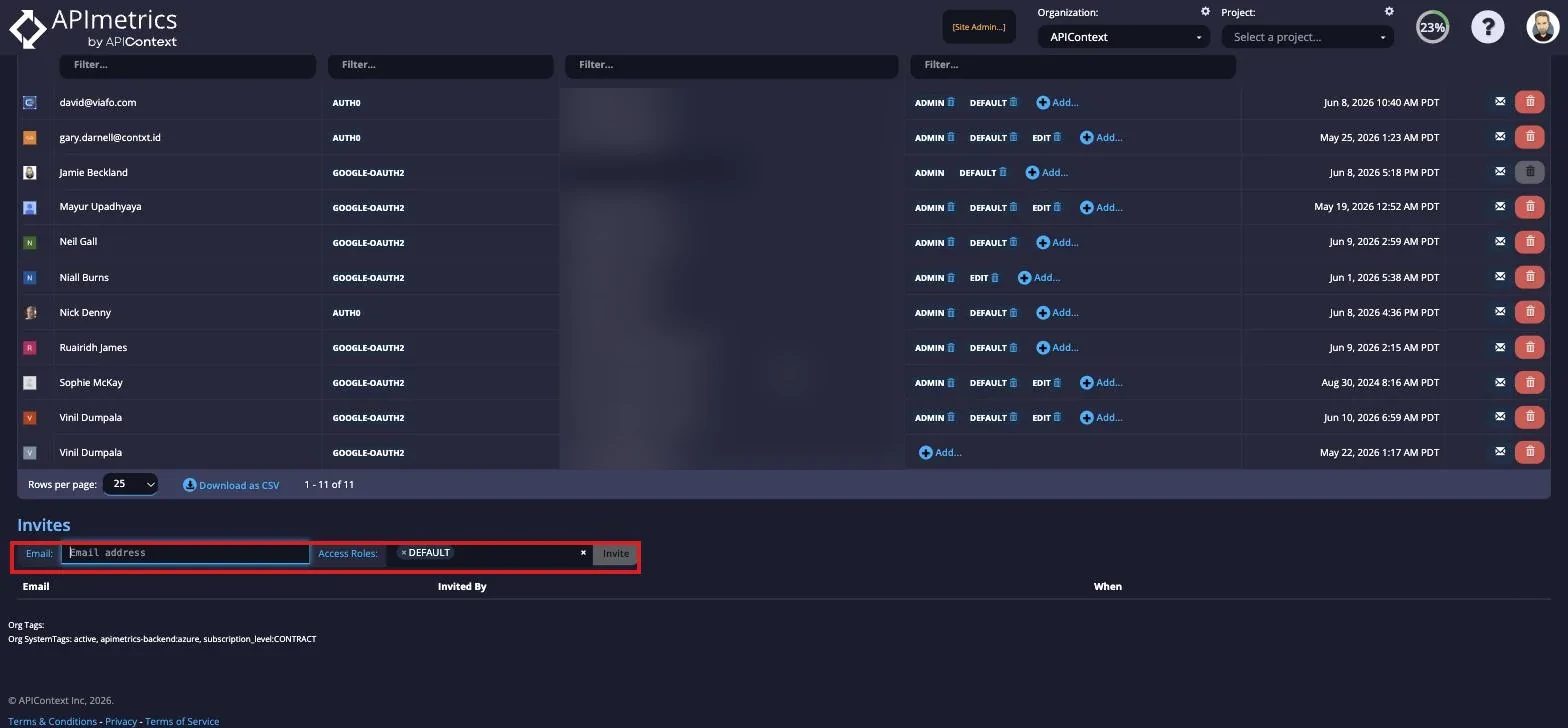
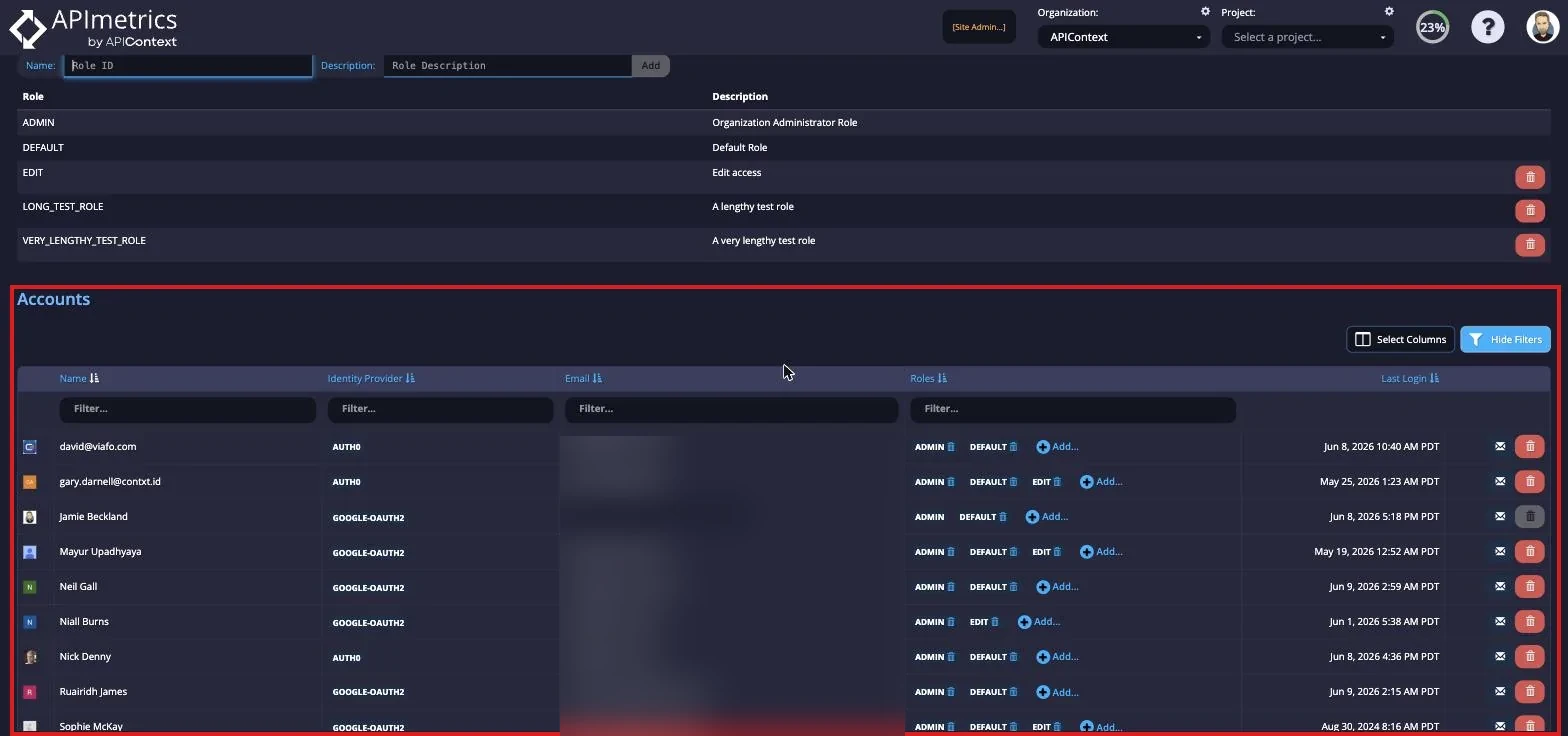
The second to last section is Accounts. In this section, you can see which accounts are members of the organization and add or delete roles for the users as required. There is also additional information that can be hidden or added to this view to personalize the view to what you most need, including viewing the account ID and whether the email address has been verified. Finally, you can also send password reset emails to account when needed and remove accounts from the Organization.
Service Accounts
The Service Accounts section is available under Accounts for Organization Admins. Service accounts allow Organization Admins to create non-user accounts that can authenticate with APImetrics APIs using OAuth client credentials.
From this section, Organization Admins can create a service account by choosing a relevant name and assigning one or more access roles from the roles available within the Organization. These roles determine what the service account can access.
Create Service Account
To create a service account, select the Create Service Account button.
Enter a relevant Service Account Name, then assign the appropriate Access Roles from the available Organization roles. When ready, select Create.

Once the service account has been created, APImetrics will generate a Client ID and Client Secret. Make sure to securely copy and store these credentials, as the Client Secret will not be shown again. You can also select Download JSON to download the credentials in JSON format.
See Generate an Access Token to learn how to use these credentials to authenticate with the APImetrics API.
Invites
The final section is Invites. You can view who has been invited to the Organization, by who, and when, and delete the invitation if required. By selecting the Create Invite link, you can also invite more people to join the Organization.
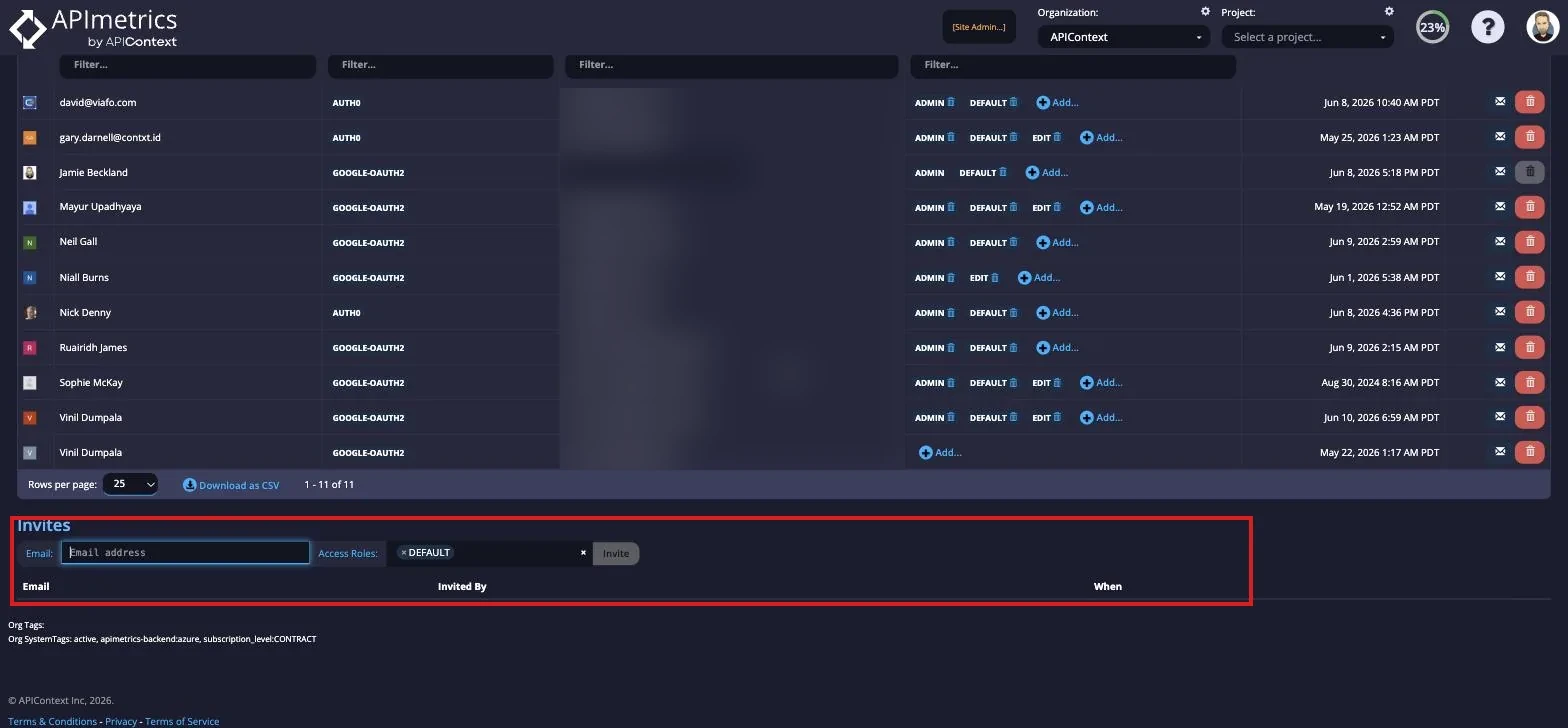
Then you will be able to enter the email address and assign a role from the dropdown. By default, the DEFAULT role is assigned.